 Photo from Unsplash
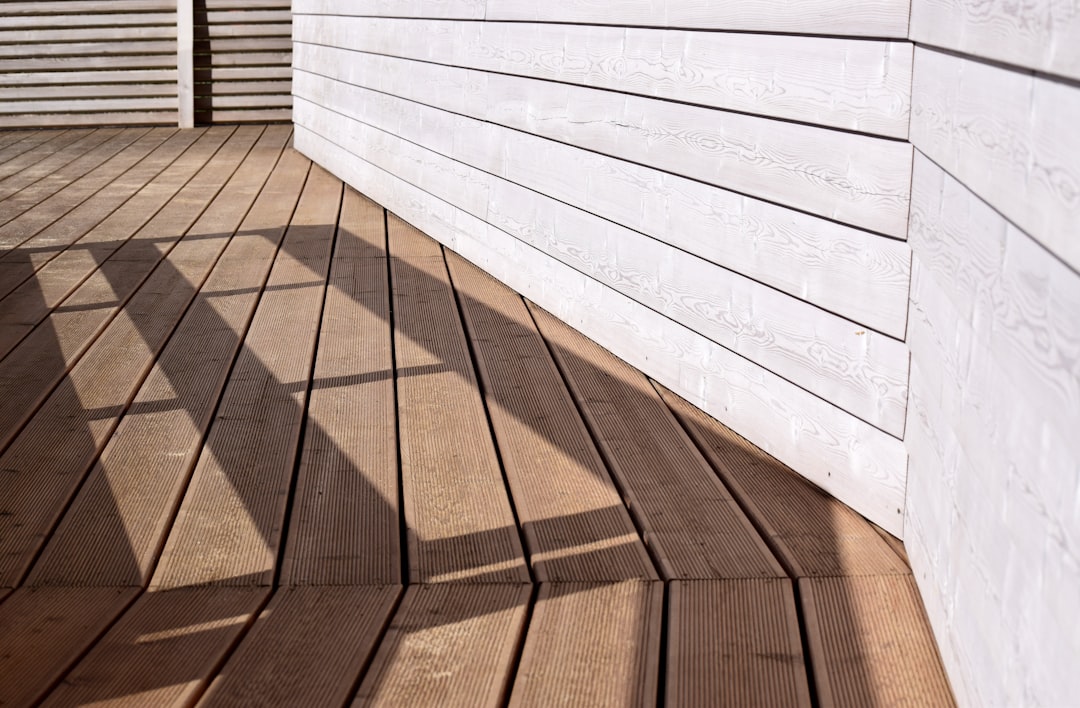
Originally Posted On: https://engineeringcivil.org/articles/home-maintenance/the-ultimate-guide-to-installing-ipe-deck-tiles-for-a-stunning-outdoor-space/
The Ultimate Guide to Installing Ipe Deck Tiles for a Stunning Outdoor Space
Install Ipe deck tiles with ease using our ultimate guide. Transform your outdoor space into a stunning oasis with these durable and stylish deck tiles.
Ever wondered how to transform your outdoor space into a beautiful, inviting area?
The Ultimate Guide to Installing Ipe Deck Tiles for a Stunning Outdoor Space
Ipe deck tiles might be the perfect solution for you. In this guide, we’ll show you step-by-step how to install these durable and attractive tiles, adding both style and function to your patio or deck.
With our simple deck tile installation tips and tricks, you’ll be able to create a stunning outdoor space that you’ll love for years to come.
Prepare the Surface
First, ensure that the surface where you’ll install the Ipe deck tiles is clean and level. Sweep away any dirt, leaves, or debris. If the surface is uneven, use a concrete leveling compound to create a flat area.
Next, measure the area where you plan to place the tiles. This will help you determine how many tiles you will need. Refer to this Ipe Wood Q & A to know more about selecting the right tiles for your space.
Layout Design
When you are ready to begin the installation, start by laying out the tiles to get a sense of your design. Arrange the tiles in the pattern or layout you prefer, taking note of how the seams align. This initial layout will help you visualize the final look and make any necessary adjustments before securing the tiles.
After you are satisfied with the design, you can begin attaching the tiles. Follow the manufacturer’s instructions for securing the tiles to the surface. It’s important to ensure each tile is properly fastened so that the overall installation is secure and looks professional.
Start at the Corner
Begin the installation at one corner of your patio or deck. Place the first tile in the corner and ensure it is aligned properly. This starting point will help guide the rest of your installation.
Work your way out from the corner, placing one tile at a time. Make sure each tile fits snugly against the adjacent tiles to keep the design consistent.
Interlock Tiles
Interlocking tiles are designed to fit together seamlessly, creating a cohesive and stable surface. Take your time to ensure each tile snaps securely into place with the neighboring tiles. This will help prevent any movement and keep the surface even.
As you work, periodically check that the tiles remain level. If you encounter any issues, adjust the tiles immediately to maintain a uniform layout. Proper interlocking helps guarantee the durability and appearance of your new deck or patio.
Check for Level
Regularly checking for level is essential to ensure a smooth and even surface. Use a spirit level to check the alignment of each tile as you install them. This will help you identify and correct any uneven spots immediately.
If a tile is not level, adjust it by adding or removing material beneath it until it is properly aligned. Keeping the tiles level throughout the installation process will ensure a professional and attractive finish to your Ipe deck tiles.
Cut Tiles (if necessary)
In some cases, you may need to cut tiles to fit around edges, corners, or obstacles. Use a saw that is appropriate for cutting wood, such as a circular saw or a jigsaw, to make precise cuts. Measure the area where the tile needs to be cut and mark it clearly before cutting.
Always wear safety gear, such as gloves and goggles, when cutting tiles. Once the tiles are cut, fit them into place to ensure they align with the rest of the installation.
Secure Corners and Edges
Securing the corners and edges is a crucial step to ensure the stability of your Ipe deck tiles. Start by fastening the corner tiles first, making sure they are properly aligned. This provides a solid foundation for the rest of your installation.
After securing the corners, proceed to fasten the edge tiles. Use screws or other appropriate hardware as recommended by the manufacturer to keep the tiles in place. This will prevent any movement and give your deck or patio a professional finish.
Apply Sealant
Applying a sealant to your Ipe deck tiles is important to protect them from moisture and UV damage. Start by choosing a high-quality sealant that is compatible with Ipe wood. Follow the manufacturer’s instructions for applying the sealant evenly across the surface of the tiles.
Allow the sealant to dry completely before using your deck or patio. Reapply the sealant periodically as recommended to maintain the protection and appearance of your tiles. If you live in a particularly humid or rainy climate, consider Ipe Wood Q & A.
Inspect and Clean
Once the sealant has dried, inspect the entire surface for any signs of uneven tiles or imperfections. Make any necessary adjustments to ensure the tiles are secure and level. Regular inspection helps maintain a long-lasting and attractive deck or patio.
Cleaning your Ipe deck tiles is important for their upkeep. Sweep the surface regularly to remove dirt and debris, and wash it with a mild soap solution as needed. Keeping the tiles clean will enhance their appearance and prolong their lifespan.
Maintain Your Deck
Proper maintenance of your deck is essential to ensure its longevity. Regularly inspect the deck for any signs of wear or damage. Promptly address any issues to prevent further deterioration.
Routine cleaning is also important to keep your deck looking its best. Use a mild soap solution and a soft brush to clean the surface, making sure to remove any dirt or debris.
Elevate Your Outdoor Living Spaces With Ipe Deck Tiles Magic!
Transforming your outdoor space with Ipe deck tiles can be a rewarding project that adds both beauty and functionality to your patio or deck. By following these simple steps, you can ensure a professional and lasting installation.
Remember to prepare the surface, check for level, and apply a quality sealant. Regular maintenance will help keep your Ipe deck tiles looking stunning for years to come, making your outdoor area a true oasis.
We hope this article was helpful to you. If you enjoyed it, be sure to check out our blog for more valuable information and resources.